Replacing Your Gutters
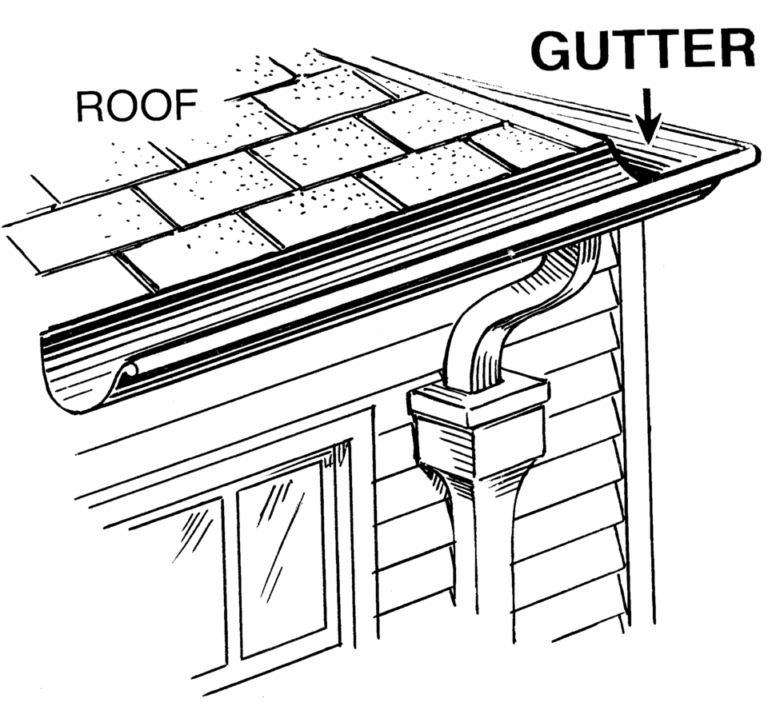
Hello homeowners! Today, we at Eagle Eye Roofing are soaring into a topic that’s often overlooked but is absolutely crucial for the health and longevity of your home: your gutters. We’ve all seen them—those long, metal troughs that hang from the edge of our roofs, quietly doing their job. But what happens when they stop working? Or, more importantly, what do you do when it’s time to replace them?
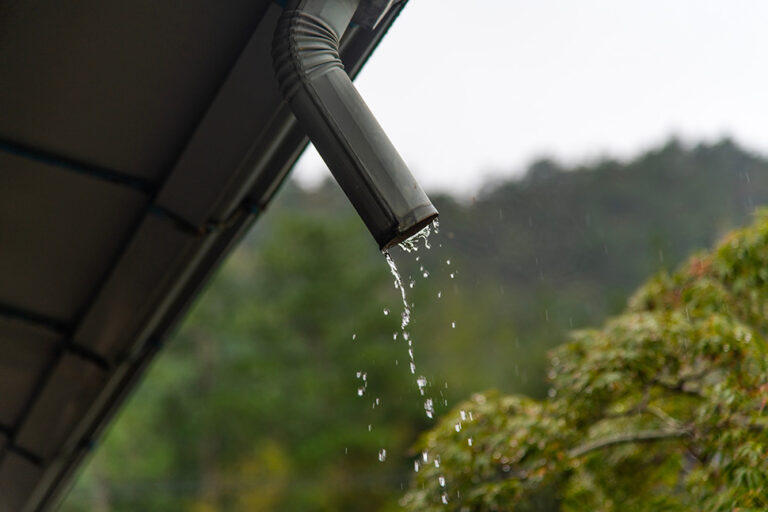
This isn’t just about making your house look good. Properly functioning gutters are the first line of defense against water damage to your roof, foundation, and landscaping. When gutters are clogged, leaking, or improperly installed, they can cause a cascade of problems, from a soggy basement to a compromised foundation. So, let’s roll up our sleeves and get into the nitty-gritty of gutter replacement.
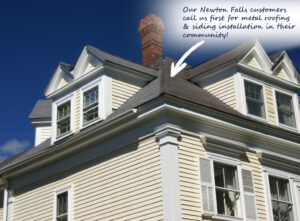
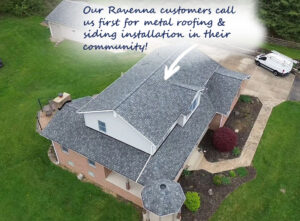
Here at Eagle Eye Roofing, we’re proud to be among the Top Roofing Companies serving our communities in Akron and Canton. We know a thing or two about the importance of a seamless roofing system, and gutters are a big part of that. While we’re always here to help with a professional installation, we also believe in empowering homeowners with knowledge. We want you to understand the process before getting a professional gutter estimate.
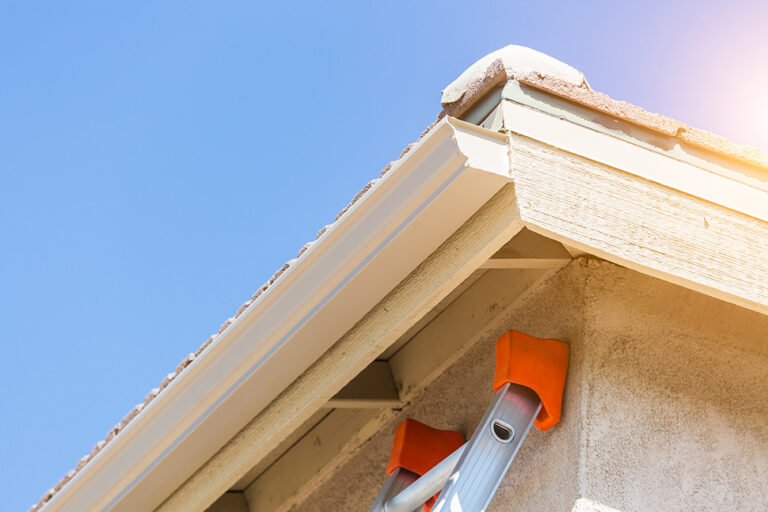
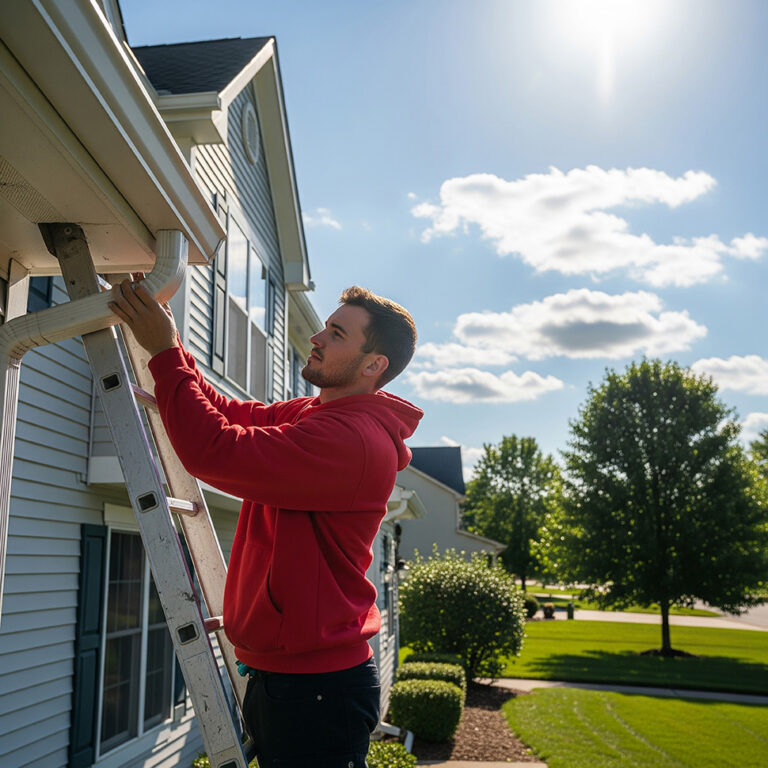
Before we begin, know that our top company value is safety first! Gutter replacement involves working at heights, often on ladders. We always have a partner to stabilize the ladder, and wear appropriate safety gear, including gloves and safety glasses.
Part 1: The Preliminary Planning Phase
You wouldn’t build a house without a blueprint, and you shouldn’t replace gutters without a plan. This is where we’ll gather materials, assess the situation, and prepare for the project ahead.
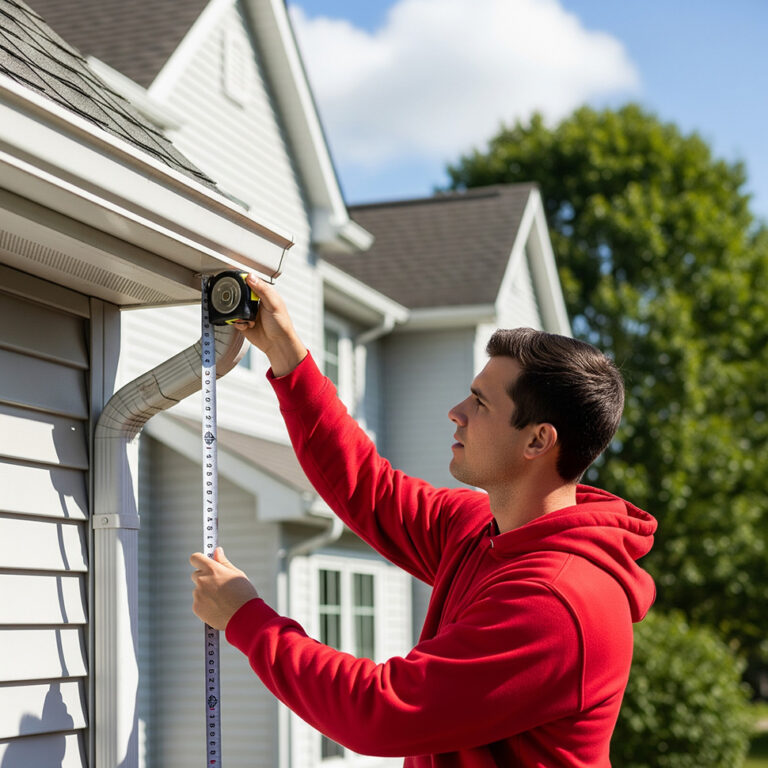
Step 1: Gutter Inspection and Measurement
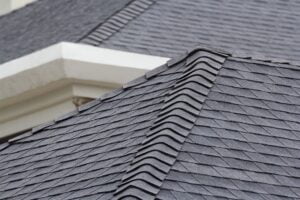
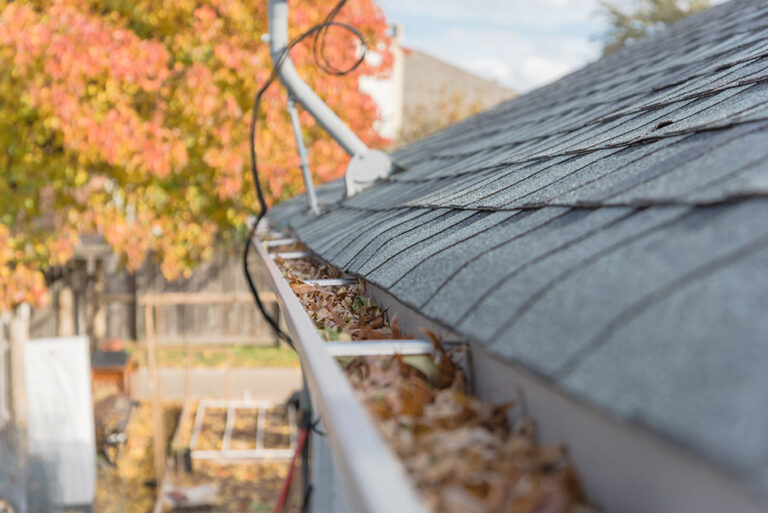
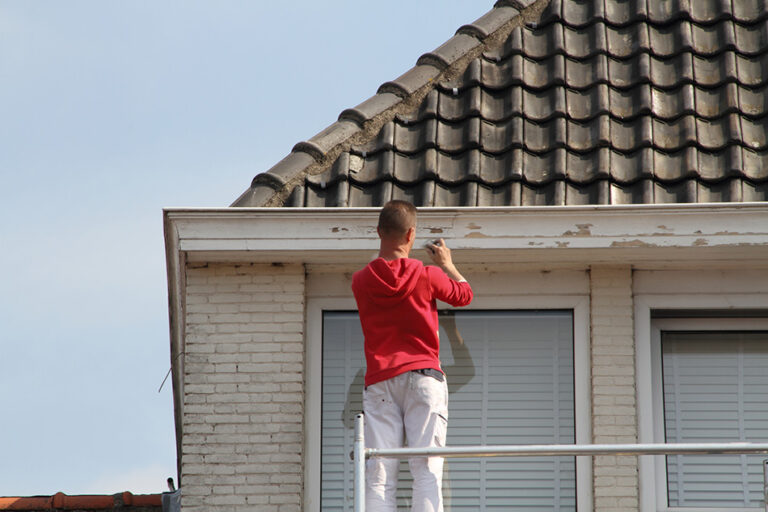
The first thing we do is a thorough inspection of your existing gutters.
Looking for:
- Rust or corrosion: These are signs that the metal is degrading.
- Cracks or holes: Even small ones can lead to significant leaks.
- Sagging or pulling away from the roofline: This indicates failing fasteners or an improperly installed system.
- Peeling paint or water marks: These often point to chronic leaks.
- Clogged downspouts: A sign that the system isn’t draining properly.
Next:
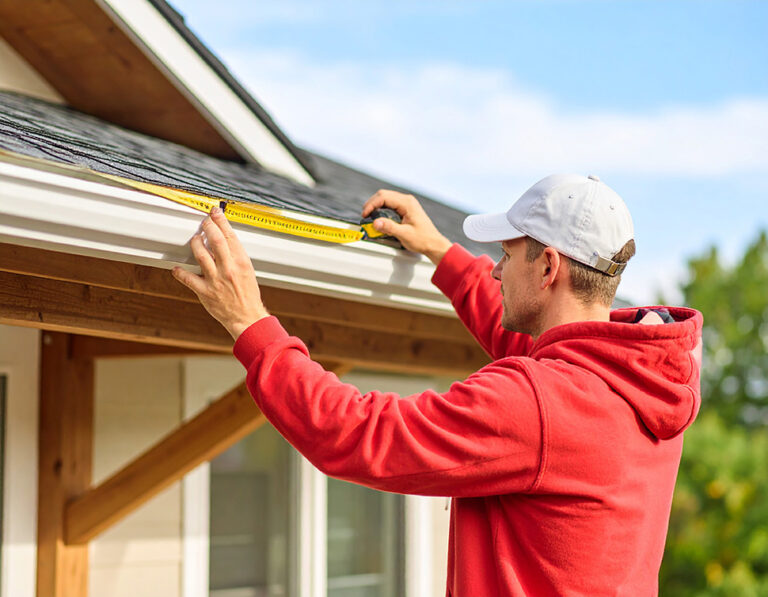
We will measure your home’s roofline to determine how many feet of guttering you’ll need. This is a crucial step to avoid multiple trips to our supplier.
Each section of the roofline gets measured where gutters are to be installed.
Downspouts:
Then our team measures the length of your downspouts and the distance from the downspout exit to a safe drainage area.
We make a detailed photo album of your house with all the measurements. This has proven to be invaluable when purchasing materials.
Step 2: Material Selection
Gutters come in a variety of materials, each with its own pros and cons.
Vinyl: Affordable and easy to install, but can become brittle and crack over time.
Aluminum:
The most popular choice. It’s lightweight, rust-proof, and comes in many colors.
Steel:
Very durable, but can be heavy and prone to rust if the protective coating is scratched.

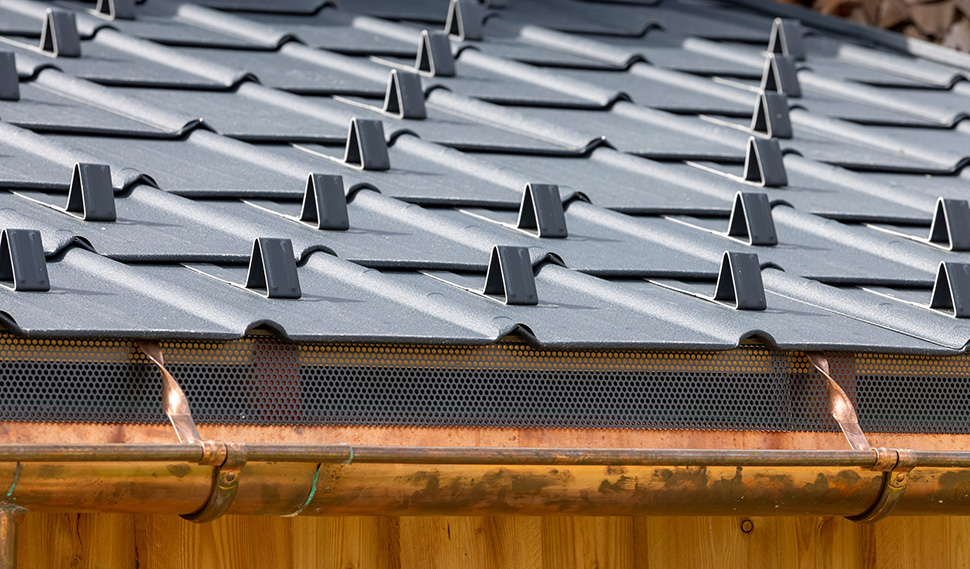
Copper:
Beautiful and extremely durable, but also the most expensive. It develops a lovely patina over time.
You’ll also need to decide on the size. For most residential homes, 5-inch K-style gutters are standard, but a 6-inch gutter might be necessary for larger roofs with a steep pitch or in areas with heavy rainfall.
Step 3: Gathering Our Tools
Here’s a list of the essential tools and supplies we use for this job:
New gutters and downspouts:
The main event!
Gutter hangers/brackets:
These support the gutters and attach them to the fascia board.
Gutter elbows and connectors:
For navigating corners and connecting sections.
End caps:
To seal the ends of the gutter runs.
Downspout outlet/ferrule:
A connector that links the gutter to the downspout.
Gutter sealant/caulk:
A must-have for sealing all seams and joints.

Drill with a hex-head bit:
For driving screws.
Tin snips or a hacksaw:
To cut the gutters to size.
Level:
To ensure proper pitch.
Ladder:
A good-quality, stable ladder is a non-negotiable safety item.
Measuring tape, pencil, and a chalk line:
For marking cuts and lines.
Safety gear:
Gloves, safety glasses, and a hard hat.
Part 2: The Action-Packed Installation Phase
Once we’ve got our plan and materials, it’s time to get to work.
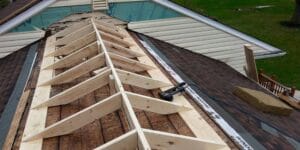
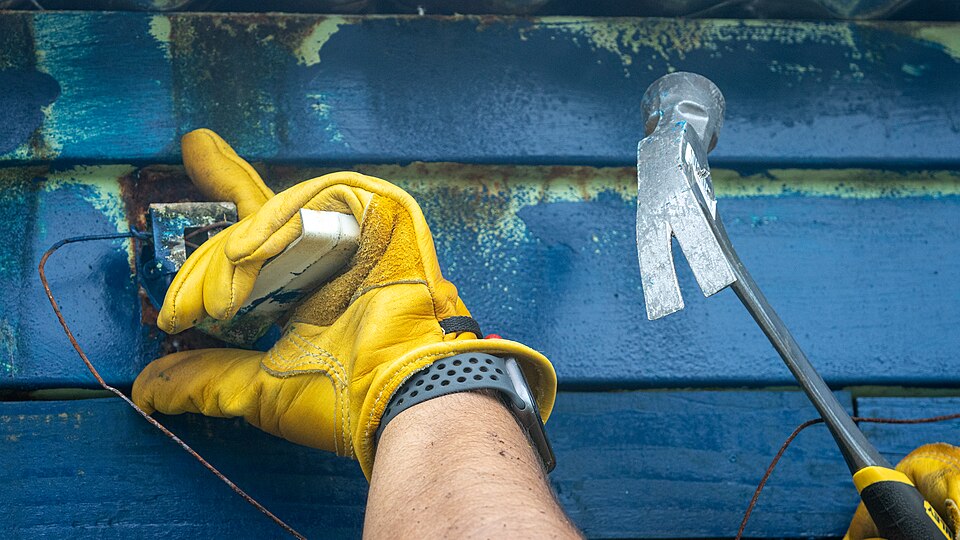
Step 1: Removing the Old Gutters
This is often the easiest part. Using a drill, the Eagle Eye Roofing team will remove the old gutter hangers and gently pull the old gutters away from the fascia board. They can be heavy and full of debris, so we are always careful to cover your plants and home beforehand. We will make sure to remove any old fasteners or debris left on the fascia. This is also a great time for us to inspect your fascia board for any rot or damage. If we find any, it’s best to replace those sections before installing the new gutters.

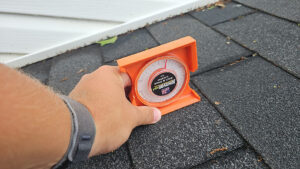
Step 2: Finding the Proper Pitch
This is arguably the most critical step for a functional gutter system. Gutters must be installed with a slight pitch (or slope) toward the downspouts to ensure water drains properly. A good rule of thumb is a pitch of 1/4 inch for every 10 feet of guttering.
Mark the high point of the gutter run on the fascia board.
Our trusty experts will properly measure down from this point the appropriate amount for the length of your run (e.g., for a 30-foot run, it will drop 3/4 inch). Our team will mark the low point.
You will see us snap a chalk line between the two points to create a guide for the installation.
Step 3: Installing the Gutter Hangers
The hangers are what hold your gutters in place. They should be installed every two to three feet along the chalk line we just created. We ensure to use the proper fasteners for your fascia material (wood screws for wood, etc.). This step is where our highly trained pros’ careful measuring pays off, as properly spaced hangers provide the support your gutters need to withstand rain, snow, and ice.

Step 4: Cutting and Assembling the Gutters
With the hangers in place, we can then start hanging the gutters.
Typically we will cut your gutter sections to the right length using tin snips or a hacksaw.
We will attach end caps to the ends of the gutter runs that don’t lead to a downspout. Then gutter sealant will be added to create a watertight seal.
After attaching end caps and sealing, next is installing the downspout outlets where the water will drain.
Also, the gutter sections will be connected together, again using gutter sealant at each seam.

Step 5: Hanging the Gutters
This is where the new gutters go up. The Eagle Eye Roofing team will carefully lift each section and snap it into the pre-installed hangers. Working our way down the chalk line, making sure the gutter is properly seated in each hanger.
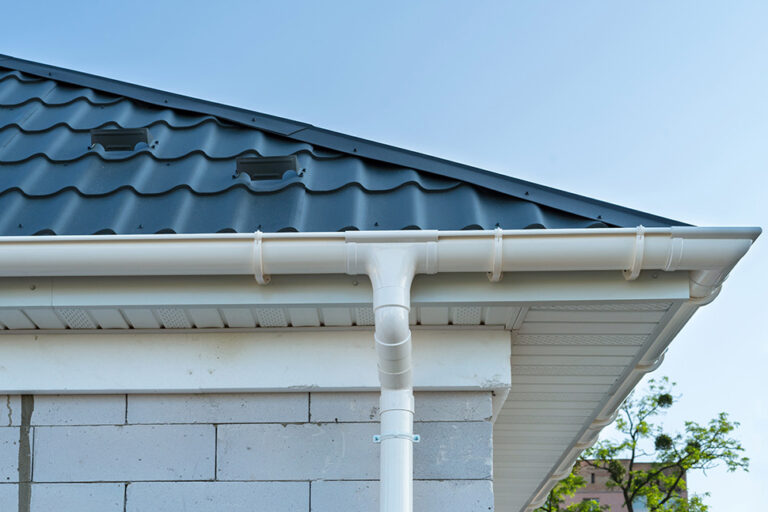
Step 6: Installing the Downspouts
The last piece of the puzzle is the downspouts.
Each elbow needs connected to the downspout outlet on the gutter.
Then we will measure twice and cut once the downspout to size. We’ll need to create a couple of offsets with elbows to bring the downspout flush against the wall.
The downspout will get attached to the wall with downspout straps, making sure it’s securely fastened every few feet.
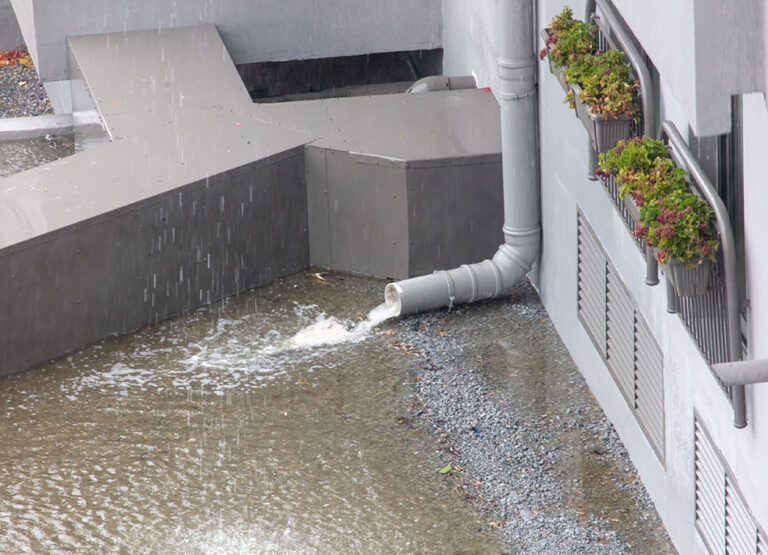
And then the final elbow will connect at the bottom, pointing away from the foundation. We recommend allowing us to add a splash block or an extension to direct water even further away from your home.
Part 3: Final Touches
Once your new gutters are up, the team will do a final walk-around. Double-checking all seams, end caps, and downspout connections to ensure they are watertight. We even run a hose into the new gutters to test the drainage and confirm the pitch is correct.

The Gutter Repair and Replacement Perfectionists: Eagle Eye Roofing
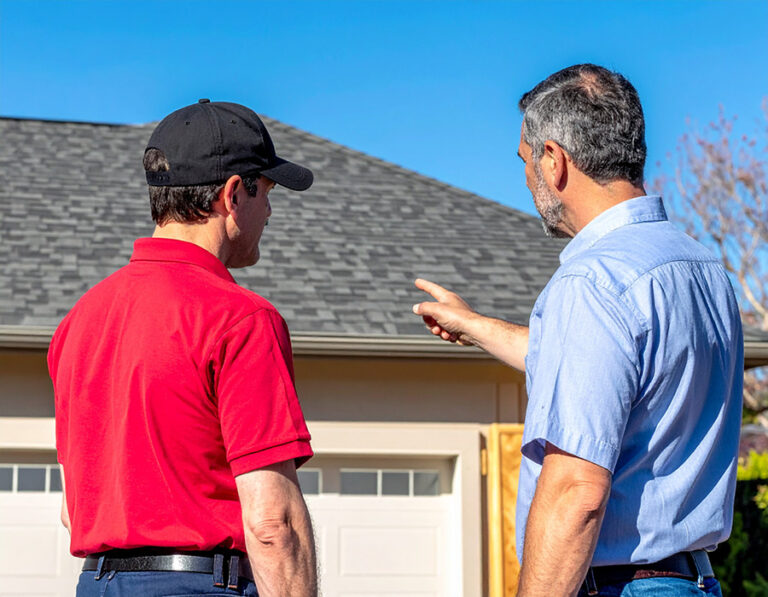
While home owners may want to do some DIY, we know that gutter replacement isn’t for everyone. It’s a big job, and getting it wrong can lead to costly water damage down the line. If you’re not comfortable with heights, don’t have the right tools, or simply don’t have the time, it’s always a good idea to bring in the pros.
That’s where we come in! As one of the premier roofing companies near you, Eagle Eye Roofing is just a call away. We specialize in seamless gutter installation, and our experienced team can ensure your new gutter system is installed correctly, efficiently, and safely. We proudly serve homeowners in Akron, Canton, Uniontown and the surrounding areas. Don’t wait until you have a water problem to address your gutters—be proactive!
Give us a call today for a no-obligation gutter estimate, and let us help you protect your biggest investment: your home.